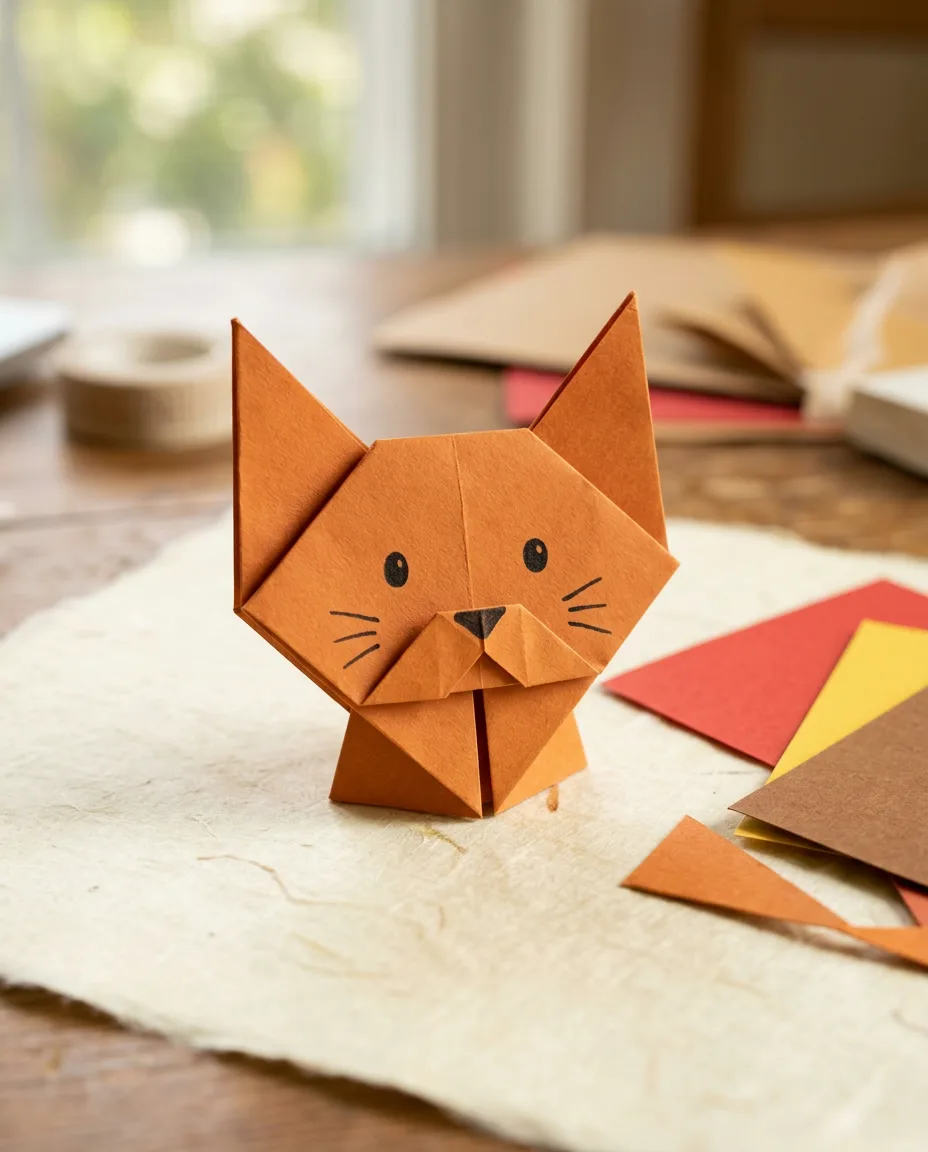
The cat face is the fold I hand to every child who asks what origami is. Eight creases, no tricky moves, and at the end there is a face looking back at you. A four-year-old can manage it with a little help on step seven; a six-year-old can run a whole production line of them.
It is also a forgiving model. Creases that land a few millimeters off just give the cat crooked ears, which honestly makes it better.
Work on a hard table and make every crease with a fingernail or a bone folder. A sharp crease now saves a fight three steps later. Dashed lines are valley folds, dash-dot lines are mountain folds.
How to read the diagrams standard notation
- Valley fold 谷折り — fold toward you, so the crease sits at the bottom of a V.
- Mountain fold 山折り — fold away from you, so the crease becomes a ridge.
- Fold arrow — move the paper in the direction the arrow travels.
- Turn over — flip the whole model face down before the next step.
01Fold the head
The first four folds build the basic head shape. Work on a table, not in the air, and flatten each crease with a fingernail.
If your diamond looks lopsided, the middle crease from step two was off. Unfold to the triangle and redo it — it takes ten seconds and fixes everything after.
02Make the ears
The ears are the only folds here with any freedom in them. A steeper angle gives an alert cat; a wider angle gives a sleepy one. Fold the first ear, then match the second to it by eye.
03Shape the face
Two small folds turn the diamond into a face: one behind to flatten the skull, one in front to make the nose. The mountain fold in step seven goes away from you — it is the one place kids reliably fold the wrong direction, so watch for it.
04Draw the face
Eyes, whiskers, and a tiny triangle nose on the folded-up tip. A soft pencil works better than a marker on thin kami, which can bleed through to the back.
Fold a few in different sizes and you have a family. From here, the fortune teller is the natural next model — it teaches the blintz fold the same gentle way this one teaches corners-to-a-point.